Sewing Room Box

Hello everyone! 
How are you all doing? I hope you all are enjoy the last posts on my blog. I'm back with some new Inspiration for all of you. Sewing box room with lot of Prima Marketing products 


So lets get started. This is going to be a picture heavy post as we have a lot of pictures to share with you all so sit back and relax. 

Some more pic in different angle


I created this shadow box kind of a structure using mount board and pattern papers. Then begun creating the Background scene around it adding mini furniture, resin charms to the wall and hanging scissors, floor mat etc.


Mount board : This Neutral Mount Board is a must have for all kinds of scrapbooks and 3D shadow boxes.. You can create any size of shadow box with the help of the same. It is best to be used for the back of mixed media layouts. 

Its 2000 gsm strength makes it very special .


I really like using Mount board as it is so easy to work with. No power tools needed, it sticks together with Aleene's glue or glue gun and you can use stick pins in it to secure it while it dries and use masking tape. 


3 Drawer table 
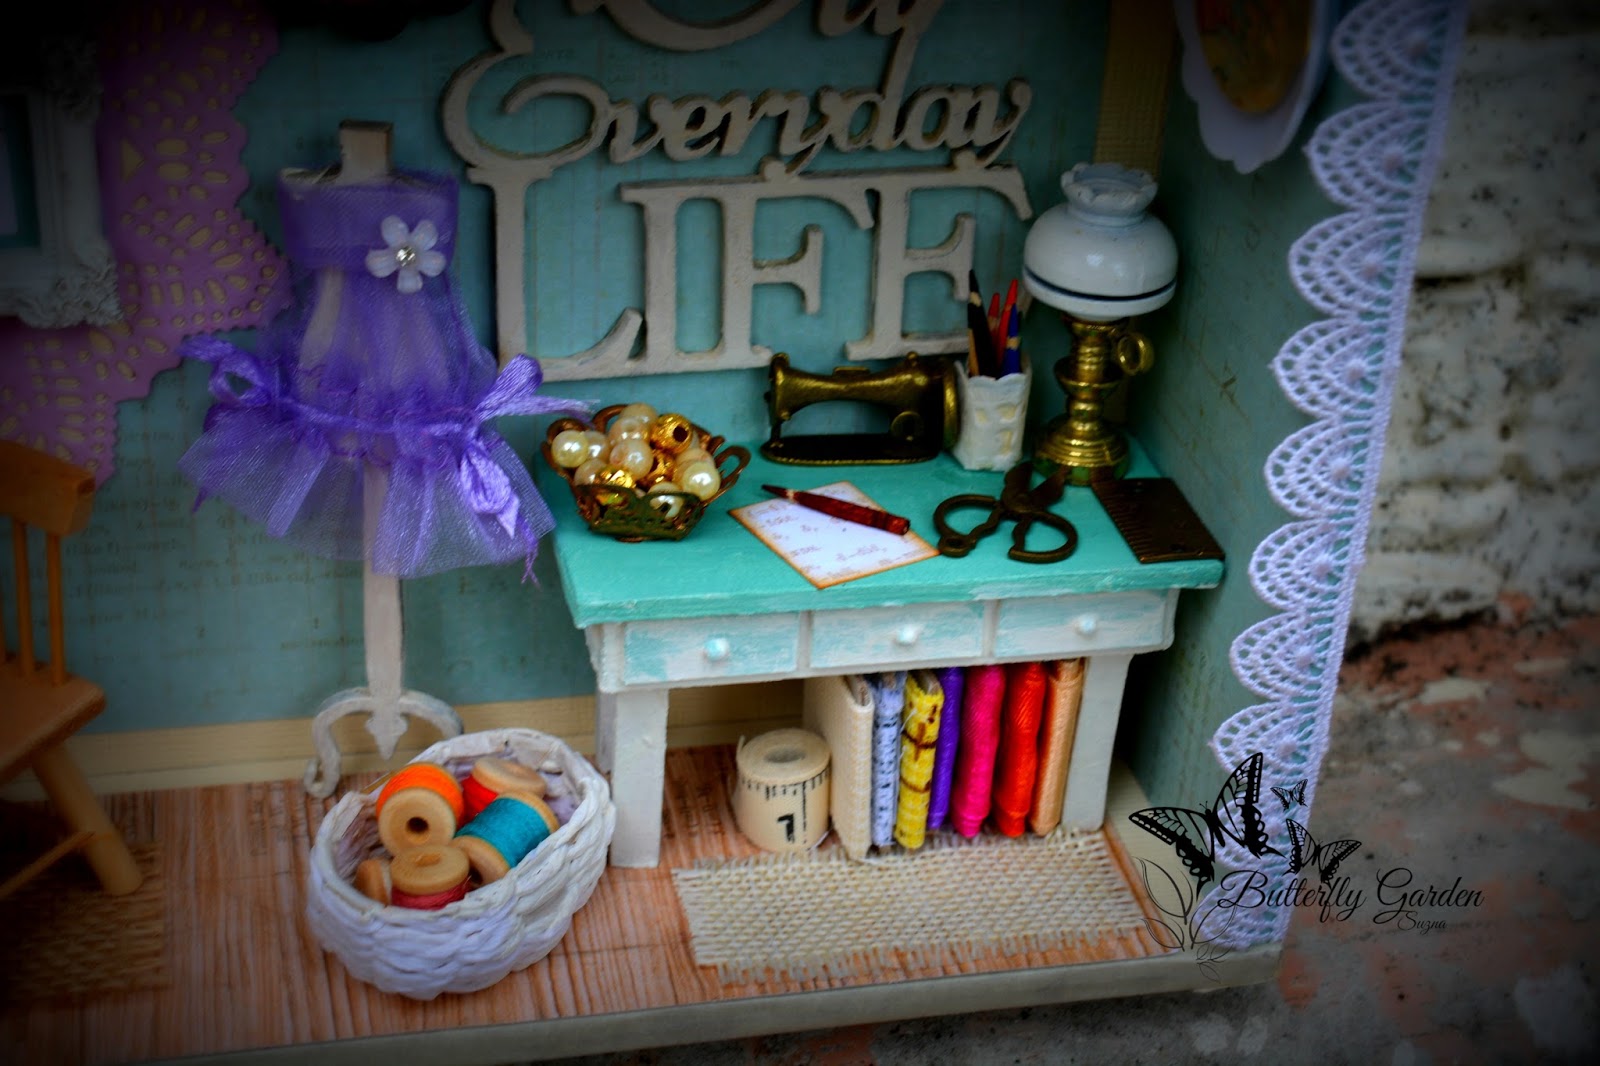


Table no:1 The same board i used to make 3 drawer table. Use Aleene's glue for sticking, then prime the entire table with white gesso . After drying use colors. Here i choose teal mica powder.


Drawer knob: Liquid pearl drops, keep it for complete dry


Floor Mat : I used finnabair fabric pack

Organizing mini fabric stash with  chipboard


Making color pencil or marker using by toothpick 


Here's another super easy cute miniature that will add so much charm to your sewing room


I took cardstock and design like freehand drawing. Cut fringes into the oval about 2 cm and glue the tread end on cardstock strip


By putting the thread over the first fringe, under the secon, over the third etc. Repeat this step upto just before end of the paper. 


Then i paint the whole basket with white gesso. After drying cut the balance paper part.  


Table no.2

Cut the lolly pop stick, wrap with cream paper (cardstock) and glue on rectangle cut piece mount board


Arranging Dress form with Jewelry bag


Step 1  

 Step 2


Then cut the rest of fabric and glue it tightly 

Next is wall hanging frame


Framing sentiments with Wycinanka laser cut design 


 Next step: Collect more miniature stuff as much as you can


Start decorating 


For soft color background embellishing i use purple color pape. The BG design from Prima marketing metal die : crochet doily 
Finally..... 


Hope you all liked my inspirations. Don't forget to check out Crafters corner website for the amazing new range of miniatures, charms and the best craft supplies at the best prices in India!
Have a great day!
Hugs


Used Prima marketing products
All the details are i shared in my DT post for Crafters corner


Suzna

Posted in

Spread the love

Handmade Miniature dresser Room

Hi Dear Crafty Friends.....Today I'm sharing a miniature "Dresser Room" I made inspired by the Dustty attic October Mood Board. I have to say creating this miniature was so much fun!! I love designing my project with Dustyt attic chipboard embellishments, and I find the home theme and royal style papers from Graphic 45 Gilded Lilly.

Here is the front door decor,  


Here i'm sharing what all the material i used to decorate front cover 

I am a totally sucker for making mini things and i have got an idea to make small stand for keeping dress.
Here is the inside view, when the door open!!   

I am a totally sucker for making mini things and i have got an idea to make small stand for keeping dress.  

I made this stand by using 1mm chipboard with lolly pop stick painted whole area with Prima metallic steampunk copper paint
here is tip...
free hand drawing... 

Cut the shapes as like this, for hanging dress we need a stick 
Use Aleene's tracky glue. I insert this stand into Resin frame. So its gives the Royal look. 
Also made tiny quarter circle stand to keep small things.
Filled this small stand with cute metal charms. I love tiny meat charms, these are perfect for miniature projects.
Arranging Drawer tips:
Cut the chipboard like this 

Layered the table with drawer to make them pop up. 


Use cake base as mirror 

some more closeup  


Making basket: Glued the burlap sheet on natural card stock, and cut the shape as you like


And final result,


So fun arranging this tiny miniatures, and i have tried to make this tutorial easy so new beginners can follow along.

I hope you liked my project 
I'd love a comment if you have time.
Hugs
Suzna


Suzna

Posted in

Spread the love

Mixed media Reverse Canvas Garden

Hi Crafty lovers!
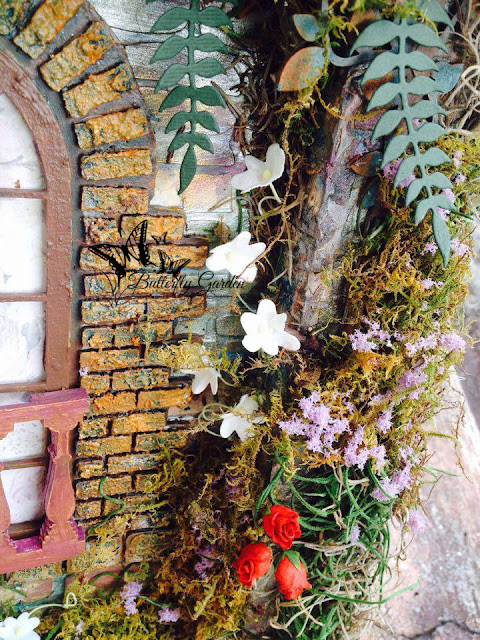
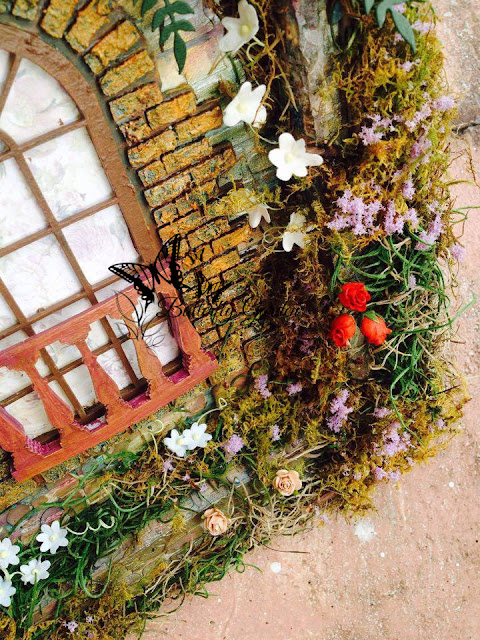
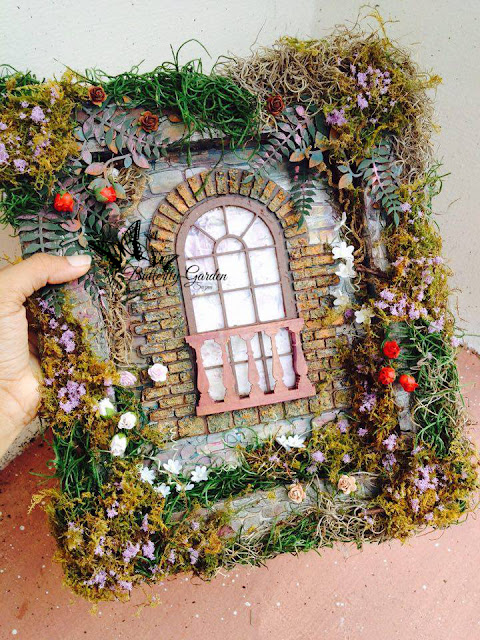
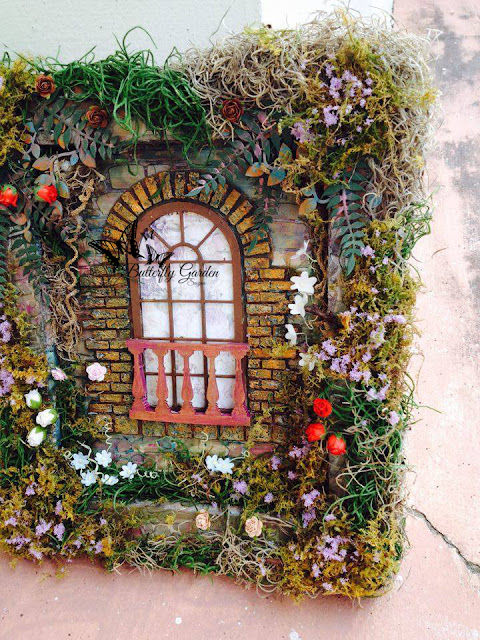
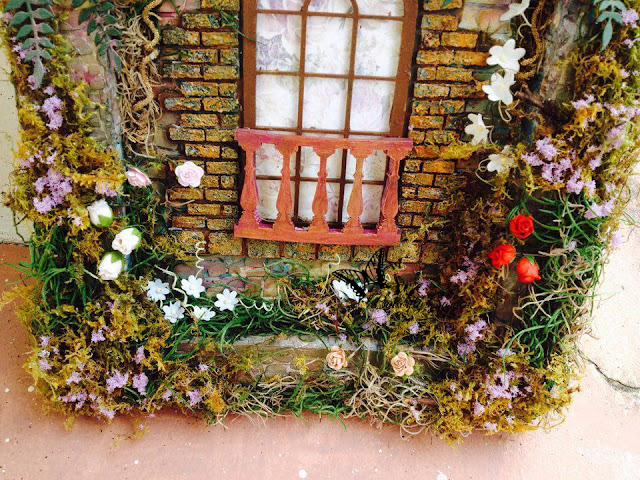
Today I have a mixed media reverse canvas to share with you, using one of my favorite Dusty attic chippies, and moss collections. A short video tutorial available at the end of this post

This was such a fun Mood board, the colors, natural feel... in it are some of my all time favorite combinations. I decided to create a miniature secret garden using the reverse side of canvas. 
This would make a lovely handmade Secret garden gift for someone special, add a hanger on the back or gift it with a small wooden easel so they can display it all Spring time. 


You will get all product from Crafters Corner. I shared the all product link here 


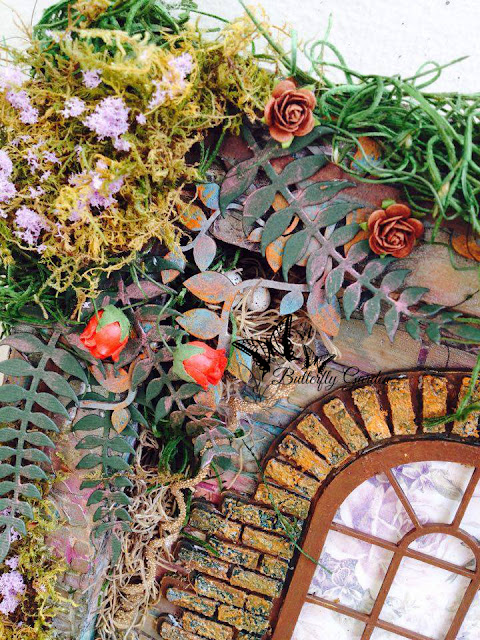
I created a little nest with some Spanish Moss with ready made eggs. You can see in below image.


I had great fun putting together the inner and outer areas of the whole frame with different moss collections
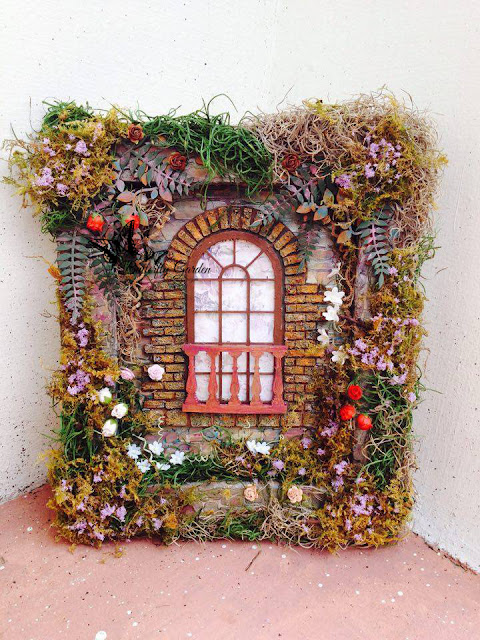


So here is the tutorial on how to make my Mixed media secret garden on reverse side of canvas, I hope you will enjoy it!


Thanks so much for visiting today and happy creating!
Hugs 
Suz


Suzna

Posted in

Spread the love