Cute bottle art

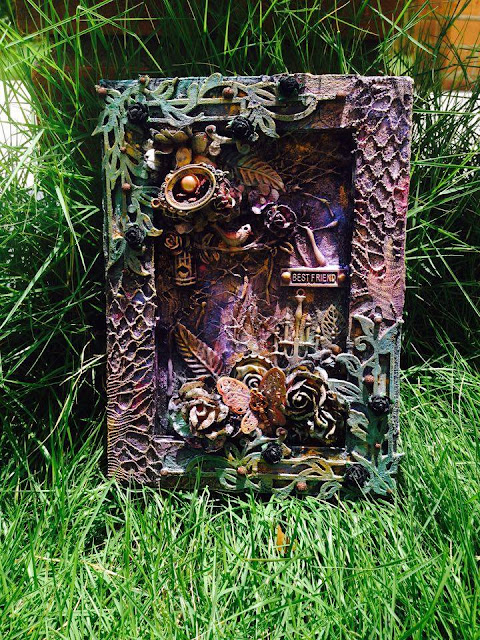
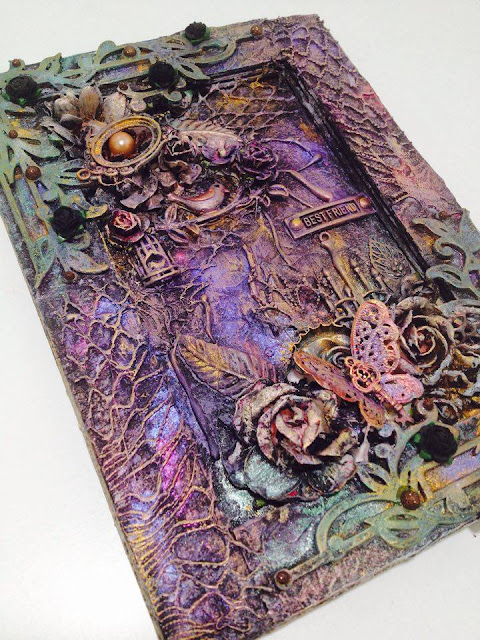
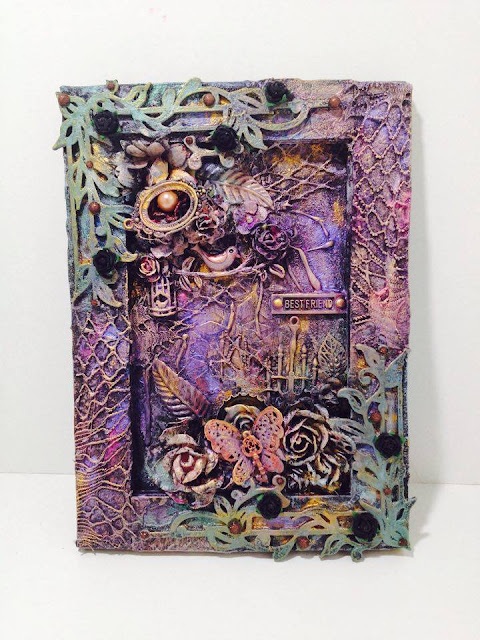
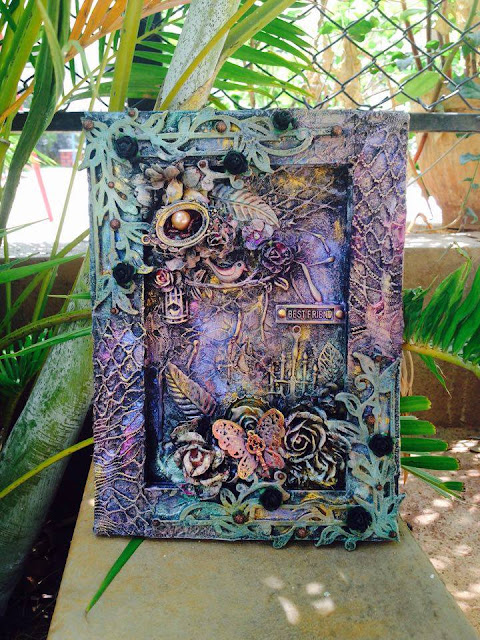
Hi everyone! It is Suzna and I have a mixed media bottle to share. I have altered an small cute 7up juice glass bottle…it is about 7 inches tall. This is tell you how I create texture and color for backgrounds…its basically the same way do in canvas. 

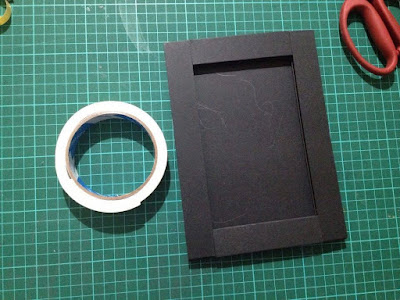
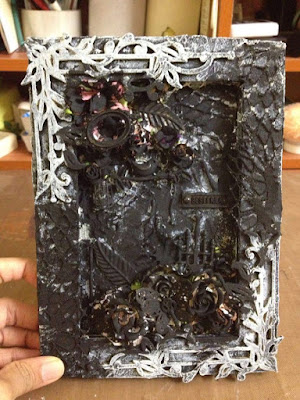
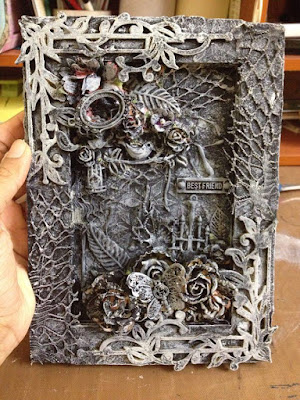
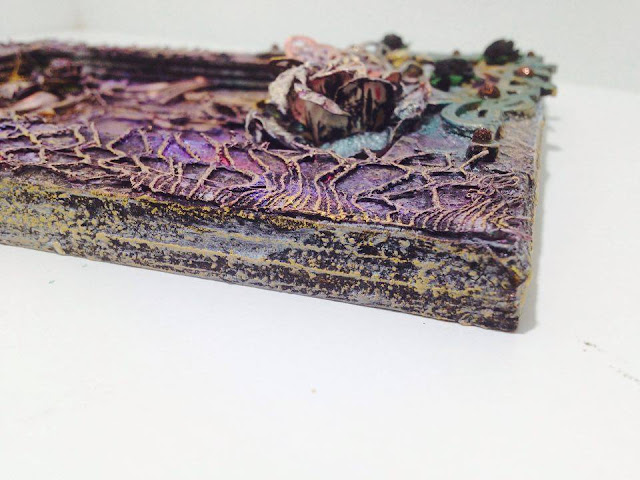
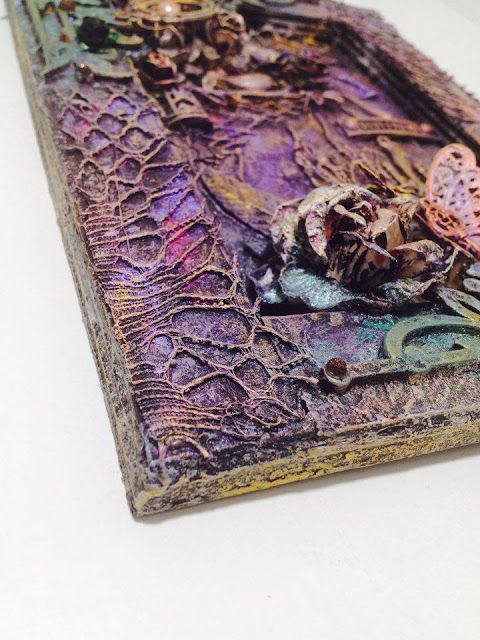
  • The first thing is to give it a coat of black Gesso…I have used Prima marketing. Heat set or let dry.
  • Next I coverd the gesso with a coat of Prima sand paste.  
  • My next step I painted thin layer of white gesso
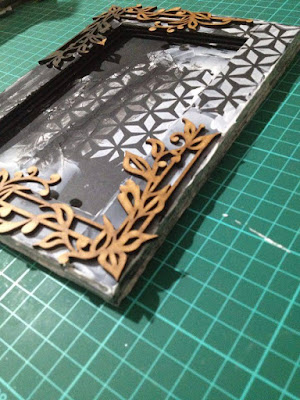
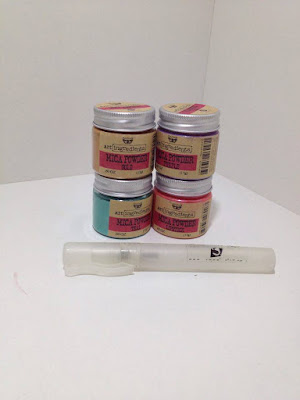
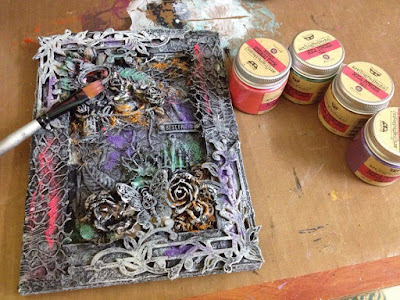
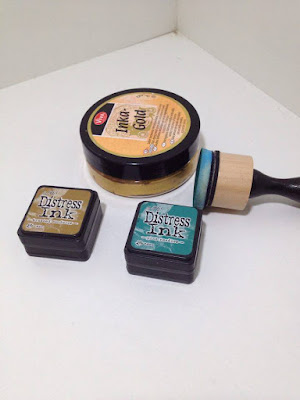
  • Then painted with Fabrica's Gold metallic powder and Burnt umber
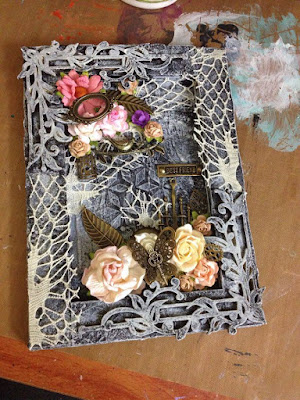
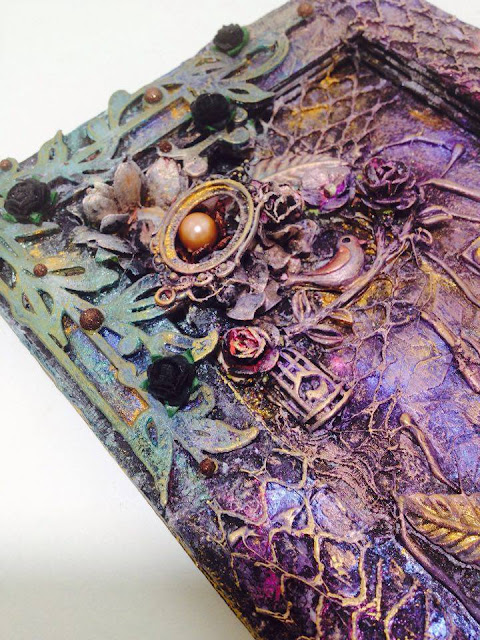
  • Now i added all embellishments.
  • And i used Ranger glossy accent inside the small photo frame.


Most of the things i bought it from Crafters corner online store.

Thank you for stopping by, 
I hope you've enjoyed my creation, 
and don't forget to see again if you are not, follow my Blog.
Suzna

Posted in

Spread the love

Creative mood

Hi everyone.
I have another project for you! Mixed media canvas with Prima mica powders and Dusty attic chipboards, this is something I use to experiment with different techniques and trying new coloring styles. 


Mixed media is so much fun, if you haven't tried with mica powders, I encourage you to go for it! You can't go wrong with this technique, anything goes! In fact under all that Gesso are bright colorful flowers. 


Used Dusty attic chippies
  *******************


Used Prima Marketing products 
***************************
Mica powder Black cherry
Mica powder Sunny yellow
Mica powder Purple
Glass glitter Copper

 Thanks again for the visit. If we’re not already connected, please follow me.
Suzna

Posted in

Spread the love

Altered Lantern

Hi everyone, i'm back again..... 
   Here is one of my new creation I finished putting together today. I found this hanging Lantern with the stand near my home at shopping mall, I bought this cute white lantern for 250/- and even though it looks great with a candle inside I knew I wanted to alter it! I love Home goods and sure wish we had one here! 

 
 I added a sweet little baby angel in the middle. I also added some red, pink, white and yellow shades blossoms. I also used some lace for background design 


At first I painted with white gesso (Prima), After drying i added a little Modeling paste (Prima) mixing with white sand (Prima), which made nice texture look. I liked it but it wasn't what I was looking for. So I mixed some more white gesso with mini art stones (Prima) and start coloring with mica powder (Prima Lipstick). Then I used my walnut distress ink to edges  it down a bit just in spots. And i used Lindy's gold shade spray to Lantern corner.   


As you can see I painted part of it a inka gold color, its dry brushed color and that seem to give it a patina look. 

 
I had so much fun altering this one, I hope you like how I did this one. 
Thanks for stopping by and ya'll have a Blessed evening! 
 Hugs, Suzna
Suzna

Posted in

Spread the love

Altered Cookies Tin as Frame

Hi everyone, Suzna here....today i am going to show you a fantastic altered frame, 
Make your Old tins something special! I've altered no of recycled art, and have learned a few tricks I thought I would share. Here's what i am making today:)  

These are the materials i used: 7" inch diameter Cookies tin, Dusty attic Ornate frame(big), 6x6 Prima paper pad, Prima resin emblishments, Mediums, stamps, stencils, blossoms, Prima art stones etc...... i must say i LOVE this way of art, mostly the Mediums!!!!!!! i am obsessed with them! And everything else of course :)
I altered this tin box's topper as a frame, a round frame.... and I have a basic tutorial pics here. 
1. designing ..... 
2. Finally i cut the 1/3rd part of Dusty attic ornate frame 

3. Covering back side with flexible card boards, here i add 3 cardboard.  

4. Use masking tape for finishing look 

5. My next step was to cover all the shiny and printed area with a coat of black Gesso, but its n't required, just cover the corner place only. I decided to try a little experimenting with my mediums. And i used tissue with modeling paste on the joint part of my tin, because i don't want to see the separation of chipboard and tin.   

6. Using sand paste, it will show nice texture look 
7. Adding Prima art stones with white Gesso 

8. Cut the paper in circle shape: 6"inch diameter 

9. Use Gel medium to fix these resin emblishments
10. Now, the tin is fully covered, decorate and embellish. Find some good images to use. I used these images from Prima Butterfly paper collections, and Dusty attic chippies Fence border, mini words 4. Then painted with Prima mica powders and Prima acrylic metalic paints   


Sometimes I like using crystal stones, metal charm and ribbons for decoration....; the decorating possibilities are endless. Don't ever throw those tins away. Make something!
Hope to see you play along with us soon!
Hugs and happy crafting,
Suzna

Entering to following challengers 


Suzna

Posted in

Spread the love

Moments of magic

Hi Friends :)
Back again with another project from my everlasting chipboard cutout. Today I created a Layout for Dusty attic April mood board Challenge and Lulupu 60th Challenge. I was inspired by the beautiful lighcolours, Rose flower, natural scenery etc and decided to use it for this challenge.


This layout, i used Tim Holtz Wallflower paper and Graphic 45 Paper collections with some flowers, Dusty attic chipboard cutouts, Kaisercraft butterfly stamps, Prima clock stamps etc. I used Shimmerz Grape Escape Spray over the background. I also then used my Crafters workshop stencil with some texture paste. I fussy cut images of flowers out of the Graphic 45 paper and popped it up in the top left, bottom left, and center right corners...all over :-).


Dusty attic material used
Ornate pendant #2
Grass boarder #1
Word pack #4
Small heart attack panel #2


Thanks for visiting with me today. 
Please leave me a comment to let me know how you enjoyed your visit.


Suzna

Posted in

Spread the love

Garden Frame

Hi Everyone,  
Very happy to share with you today a mixed media frame which i created for ColourArte Design Team Call. 

This mixed media frame used Silks Paints, Prima mica powders, Distress ink and Shrimmerz mists. The tutorial will show you how I created a simple and dimensional frame, just like canvas back look to the center of the frame. I hope you like it! 


Step by step details 
1. Make a frame by cutting A3 size black chipboad and for pop up i used 3D tape.


2. Use small piece of tissue paper apply with mod podge on the corner sides, which give more finishing look
    Apply texture with stencil and modeling paste.
    Then laying out with corner design Chipboard.
    And coating whole area with Black gesso.


3. I covered the some area with thick coat of Prima crackle paste and allowed this to dry. Once dry, randomly painted with white gesso


4. Add embellishment as you like. For more texture look, i added net design cloth and i have drawn lines of hot glue on the center

5. I used the same as before Black & White gesso


 6. Carefully put the mica powder on frame
 
 
 7. Add start spraying with plane water
8. I used shrimmerz water color sprays with plane water mist for reduce the sharpness of color


9. I still wanted more definition so I rubbed on some Silk Acrylic glaze with my finger to further define the raised areas.  


10. Than, i randomly painted with iridescent paint ( copper & violet ) 


11. For finishing touch use Inka Gold on whole area and distress ink on Chipboard corner


Here is some close ups


I hope you all enjoyed my mixed media frame.. Maybe I have to keep some place in my house..We’ll see.. Have a creative day!!

ColourArte blog

Suzna

Posted in

Spread the love